I think my relative may have gone a bit overboard here. He said he got a Nexiq 2 USB Link and asked me to set it up.
To properly set up and configure your Nexiq 2 USB Link, follow these steps:
1. Download and install the driver.
Go to the Nexiq website (or your software provider’s website) and load it. Download the latest driver for your Nexiq 2 USB Link.
Once downloaded, run the installer and follow the on-screen instructions to install the driver on your computer.
2. Installing Diagnostic Software
Make sure the diagnostic software you are using (JPRO, Cummins Insite, CAT ET, etc.) is installed and up to date. Most diagnostic software requires a compatible driver for the Nexiq 2 USB Link to communicate with the vehicle.
If necessary, update the software to the latest version for better compatibility.
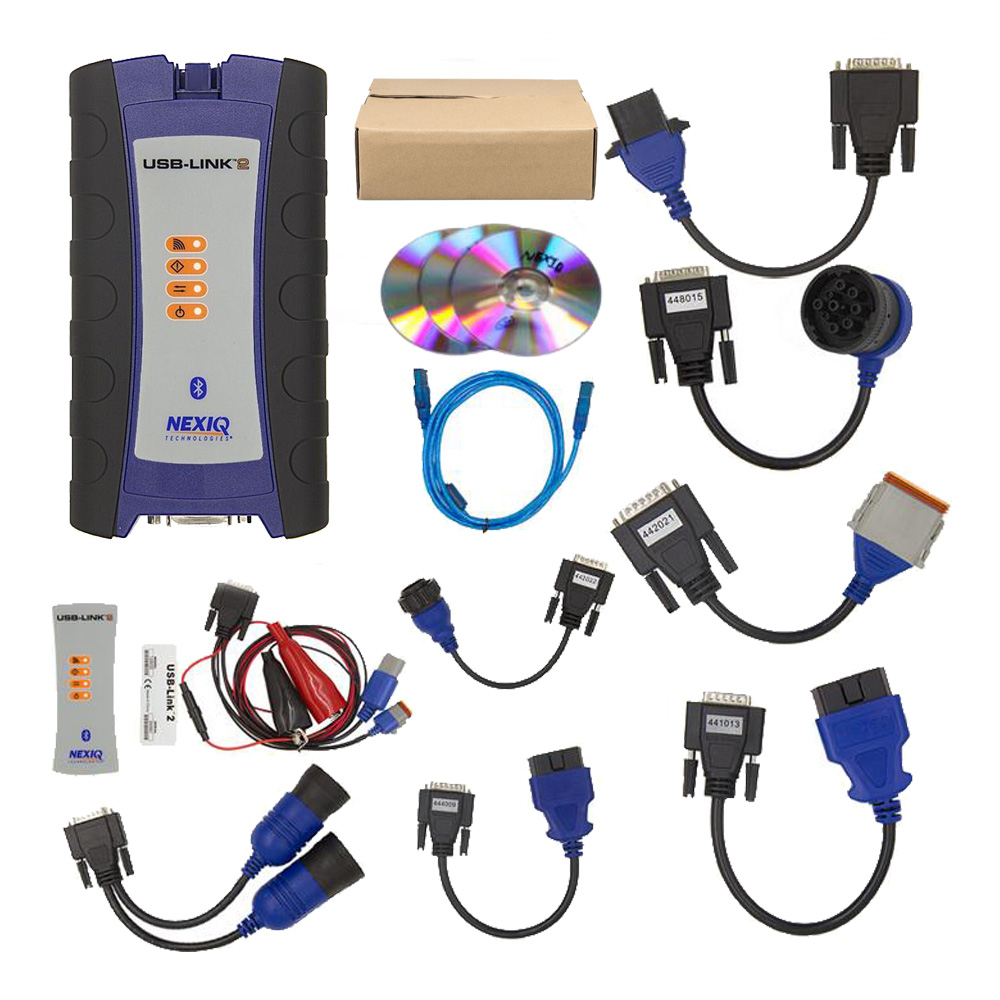
3. Connect Nexiq 2 to your vehicle:
Plug the Nexiq 2 USB Link into your vehicle’s diagnostic port (typically a 9-pin or 6-pin connector).
Verify that the Power LED on Nexiq is lit and receiving power from your vehicle’s electrical system.
4. Connect Nexiq 2 to your computer:
Use the provided USB cable to connect Nexiq 2 to your computer. Alternatively, if you’re using Bluetooth, follow the pairing process:
Make sure Bluetooth is enabled on your computer.
Search for and pair your Nexiq 2 device. The Bluetooth LED should be on.
Wait for your computer to recognize the Nexiq 2.
5. Launch the diagnostic software
Open your diagnostic software (JPRO, TechTool, etc.).
In the software settings (also called “Interface Settings”), select the Nexiq 2 USB Link as the connecting device.
Make sure the communication settings match the type of vehicle you’re connecting to (protocol such as J1939, J1708, etc.).
6. Verify the connection
After selecting Nexiq 2 in the software, run a connection test to ensure communication with the vehicle’s ECU is working properly.
Check for error messages and troubleshoot as necessary (reinstall drivers, check cables, etc.).
7. RUN DIAGNOSTICS
Once connected you can begin diagnostics (read DTCs, run tests, clear codes, etc.)
Let us know if you need further assistance with troubleshooting or setup options.
Leave a Reply