
Before starting any work, make sure you are following all the necessary safety guidelines to ensure the vehicle is in a safe location for work. The parking brake is applied and the wheels are plugged Also don’t forget to connect the battery charger.
Please note that due to the release of the updated 4.4 driver included in the security upcoming vocom, the technical tool must be manually configured to use the vocom mini or vocom tuff. This is scheduled to be corrected later Techtools, Post Change the device used Techtools Open vocom, Configurator app menu and select Map with 4.

The Update Device ID slot is the only one currently available with techtool.
When you want to use vocon mini, expand ID 3’s device, menu, select mini and when you want to go back select save using vocom, tuff opens, id3’s device menu select hard again and select save vocom configurator app is located at The vocom2 folder of the start menu once the vocom device is connected.
If there are any software or firmware updates available, they will be loaded automatically.
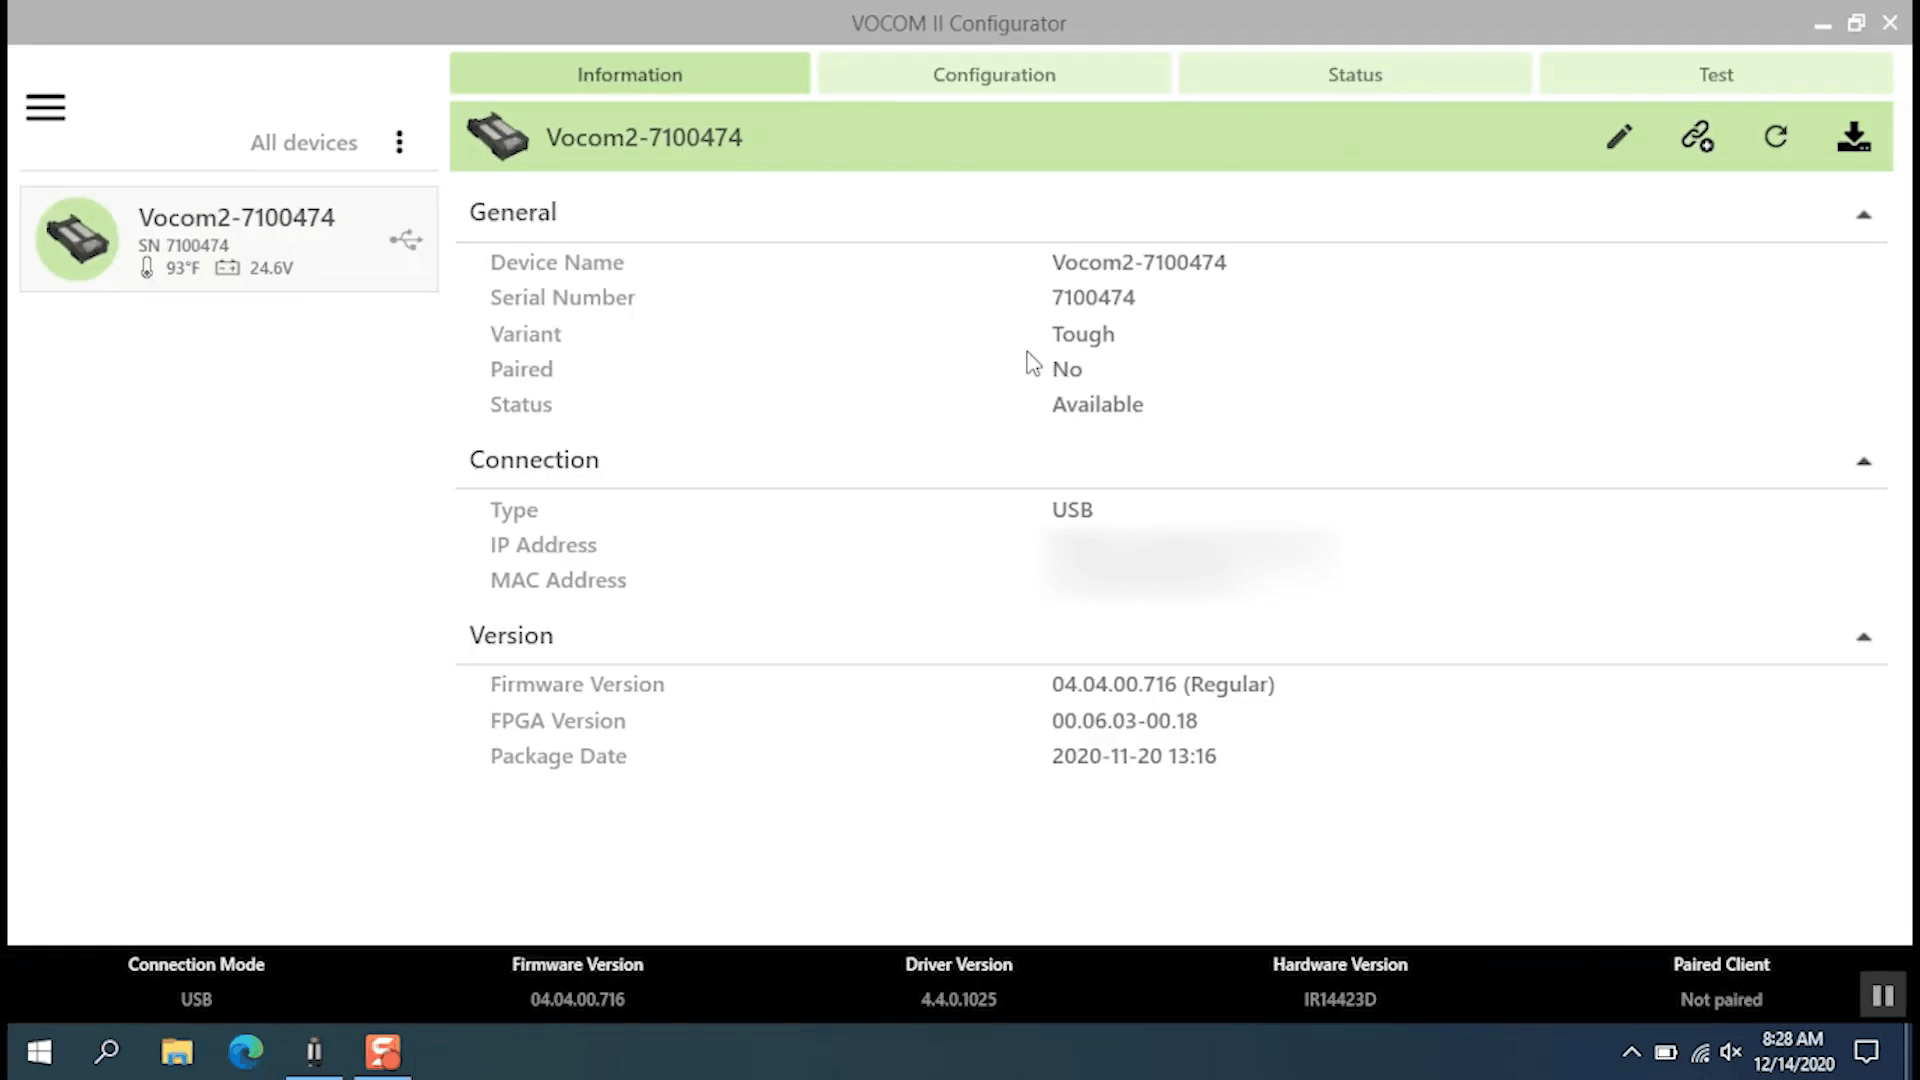
Please note that the device status must show Available for update. Let’s take a look at the Info tab. Once the vocom device is connected. We have the device name, serial number, number, a variant in this case, a vocom2tuff to which computer it is paired and you can see that it is not currently paired with any device.
for normal operation. A vocom device must be paired with the computer you are using before we proceed. Let’s pair this device to this computer Select Pair Device. Next enter the name of the paired device.
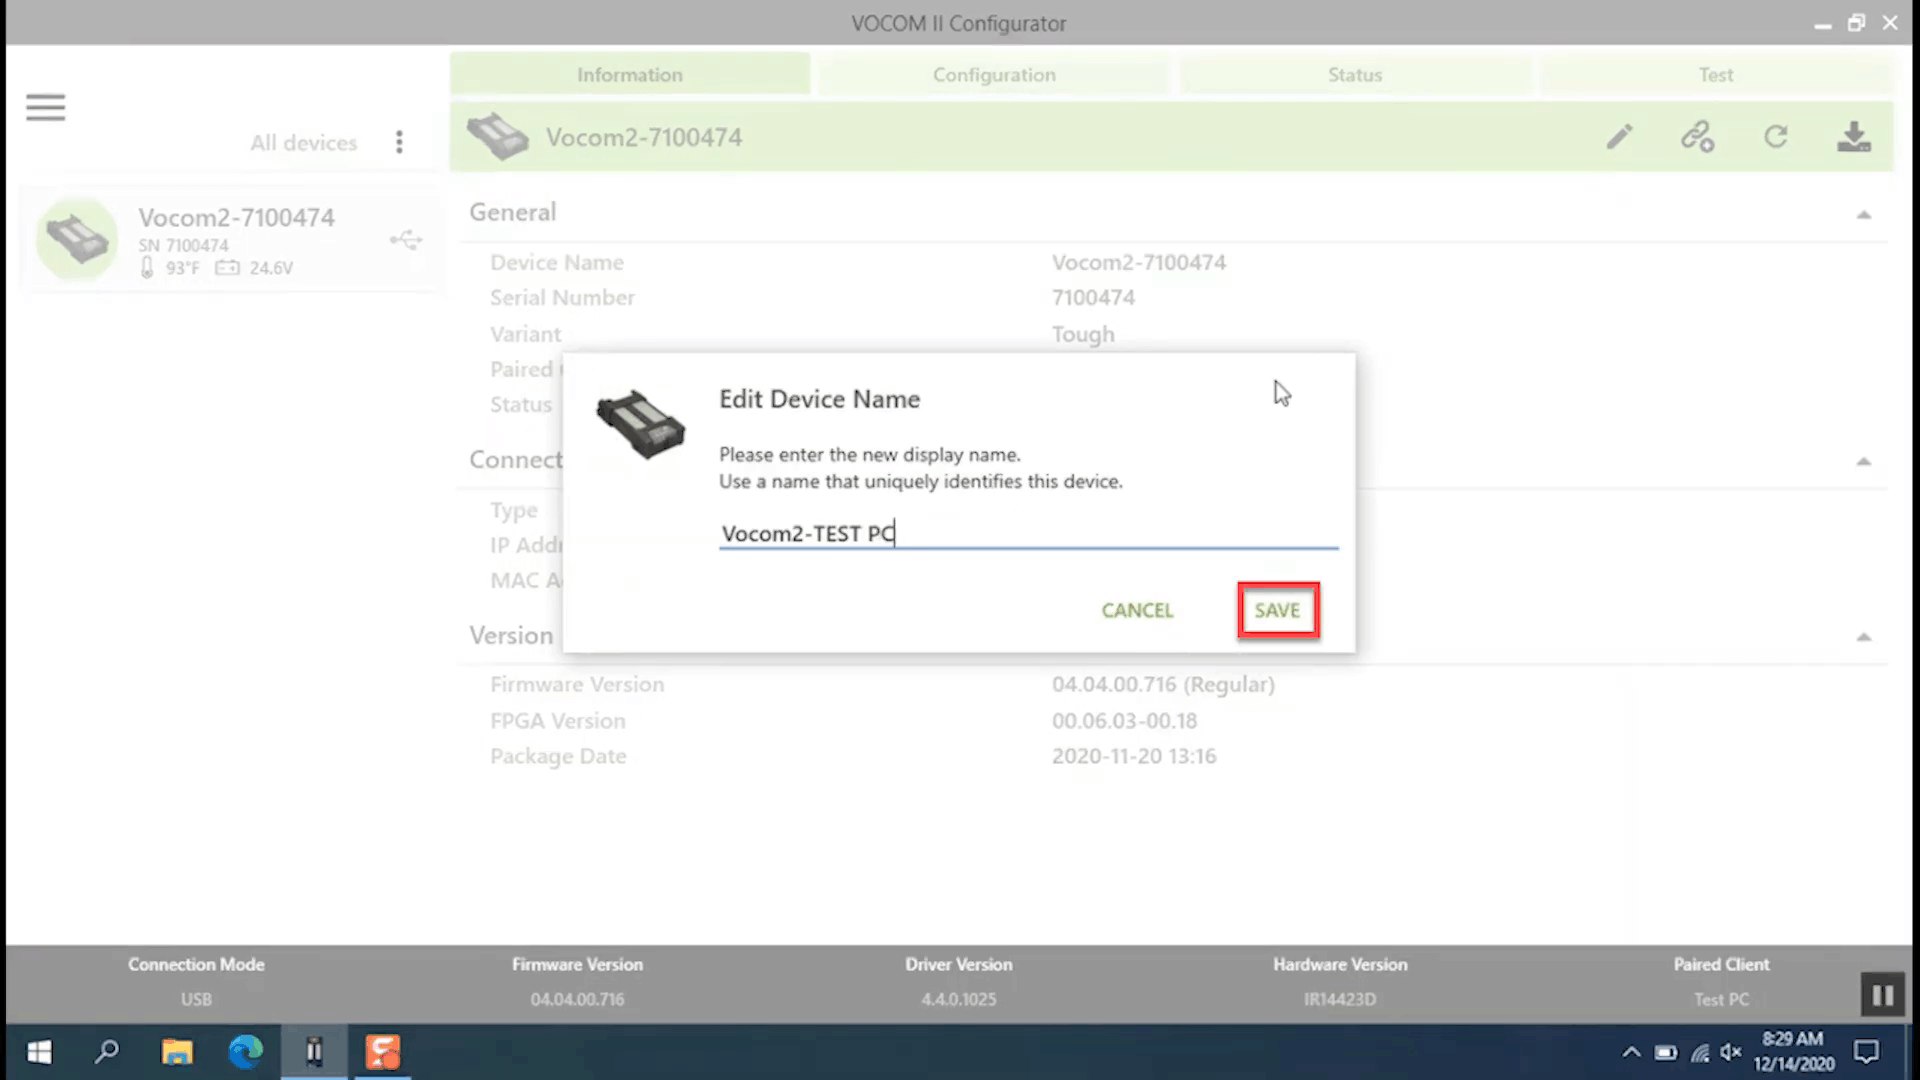
We recommend using your tech tool, client ID or unique name to easily identify which computer it’s paired to and then select Pair to finalize another way to help identify which device you’re using is to rename the vocom to rename a vocom Select Edit Input. Unique name and then select Save done with updated name until you see Device restarted.
Then select Save to finish.
Now we have paired the device.
Let’s continue here we can see the status of the device If the status shows that a technology tool is being used or another program is using the device, please note that while using the device, you will not be able to modify its settings like configuring it for wireless communication Or install the update under connection.
We have information on how to connect the vocom to a computer, in this case wirelessly via USB, the information is a bit different. It shows the ip and mac address used to connect to the device. Wireless network, the device is using the signal. Wireless Strength Network and Wireless Network, Security Type Under Version is the device’s software and firmware information. Next, let’s take a look at the Configuration tab.
This area is used to modify the way the device is.
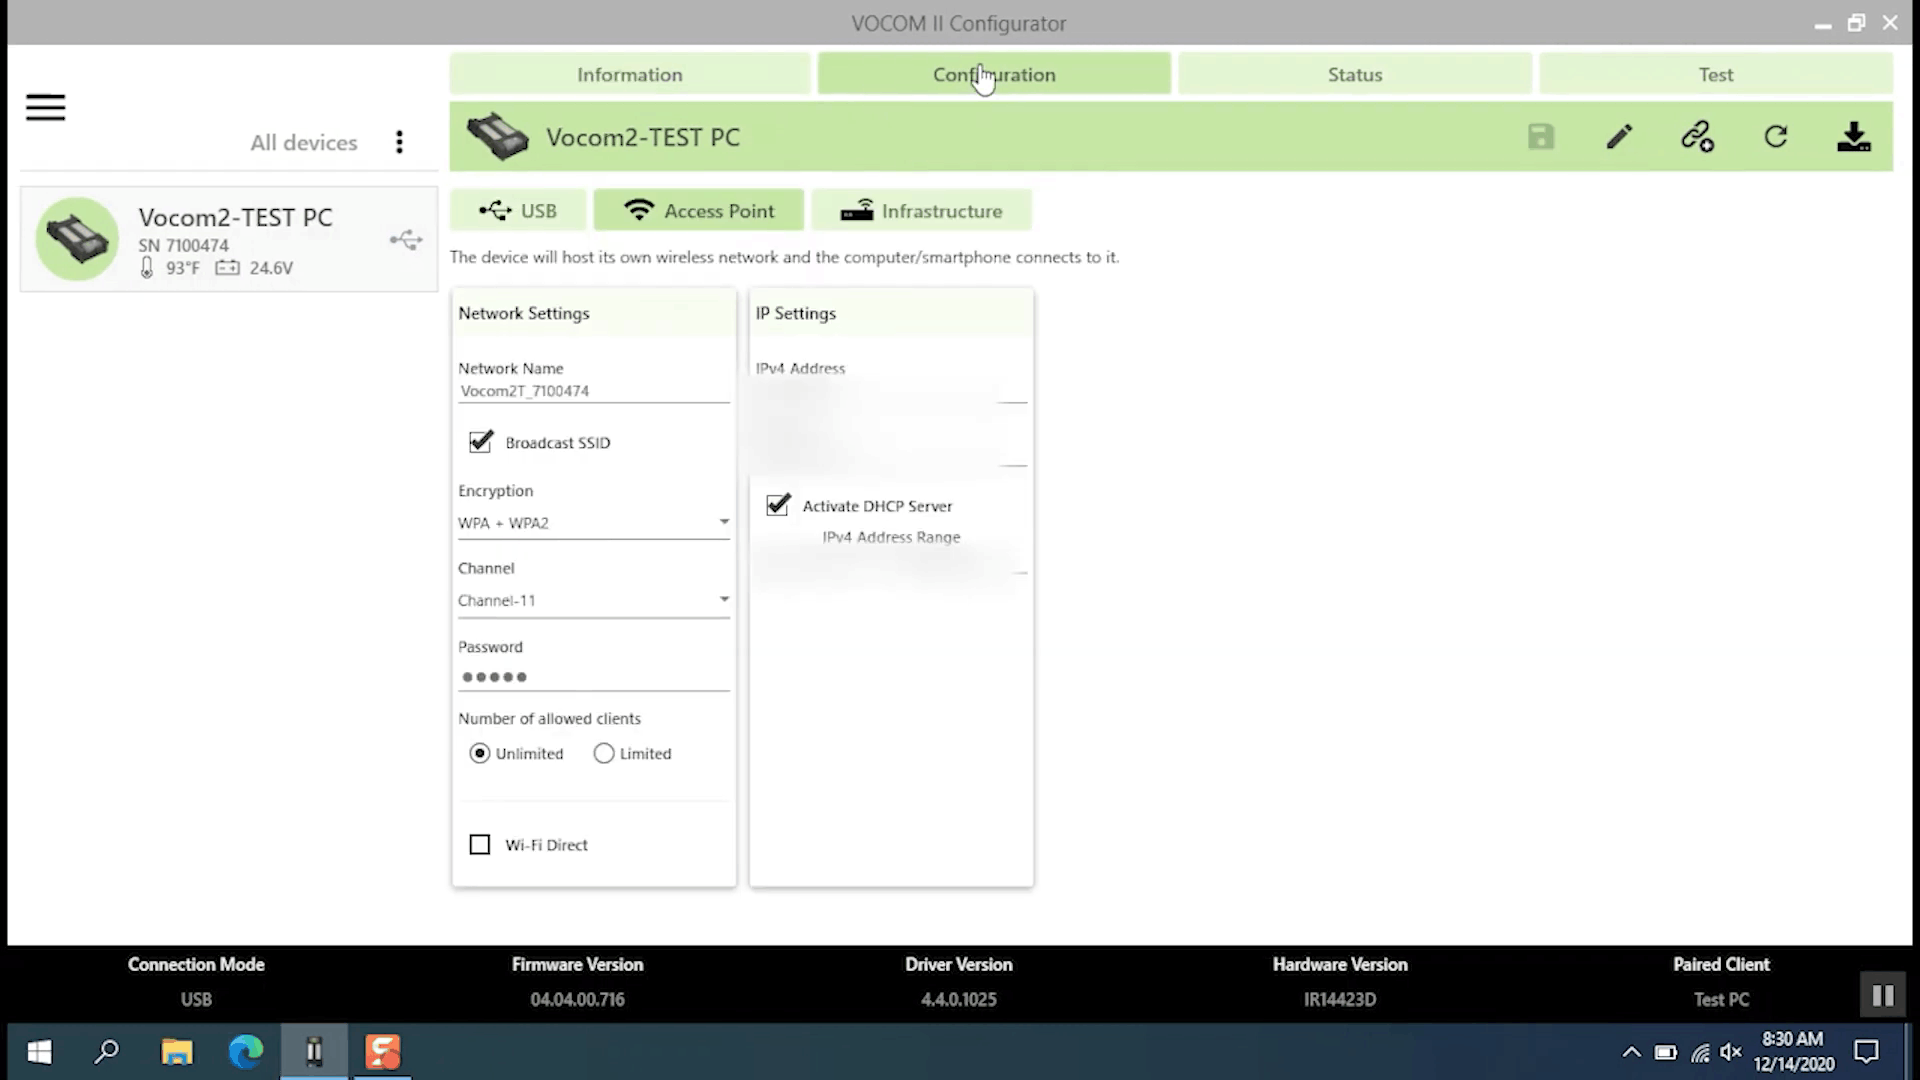
This area is used to modify the way the device is connected to your computer, the USB settings configure the device to only communicate via a USB cable access point configure the device to communicate directly with a computer without an internet connection Great for test drives and infrastructure settings to configure by using device your internet wireless.
NOTE: We have a separate video explaining how to set up the wireless vulcan mini’s features and tough, for now, let’s look at the Status tab.
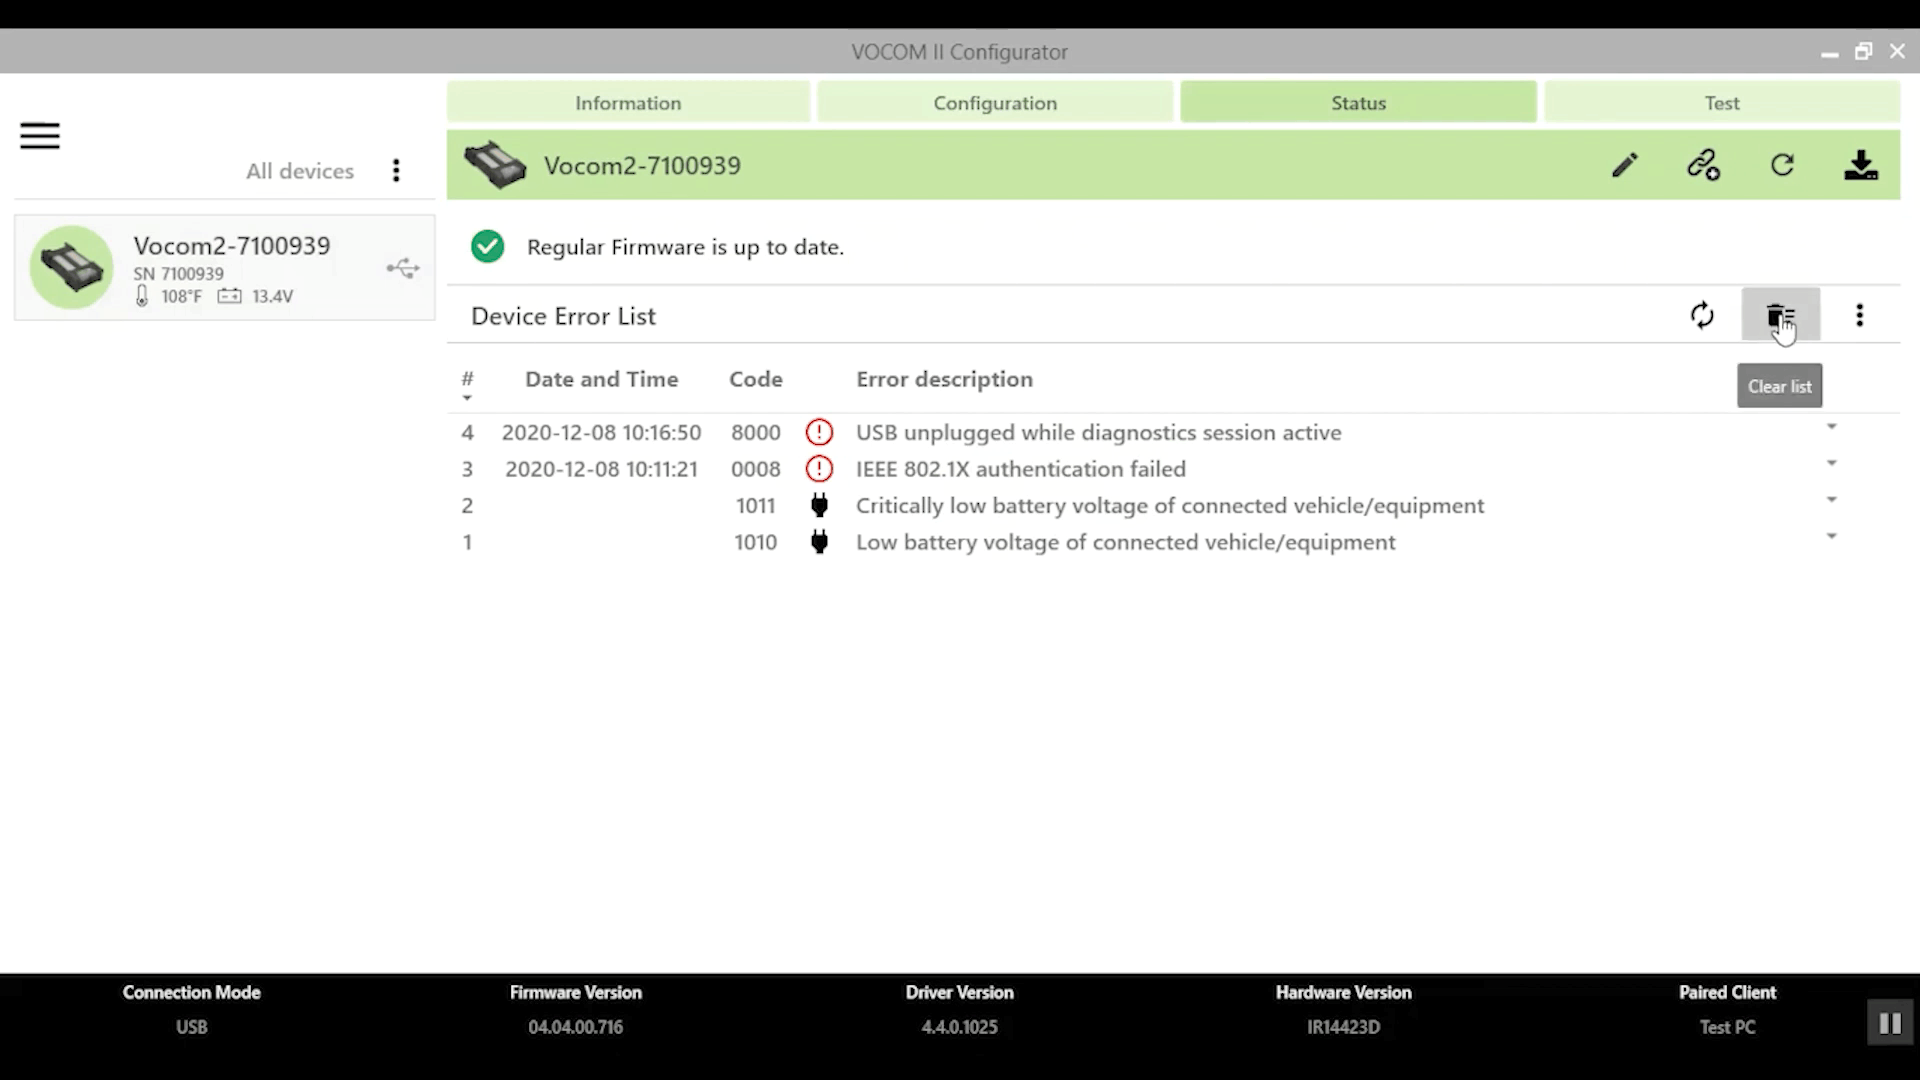
This section shows if the software and the firmware of the device are up to date and if there are any stored error codes. When an error code is stored in the device, you will see a red light like this. On the vocom tuff and mini, let’s review some of the more common error codes, there is low battery voltage, which is set around 12.3 volts, and very low battery voltage, which is set around 11.5 volts. So please keep the battery charged The next IEEE 802.1x authentication fails. This indicates a problem with vocom’s wireless connection: please contact your local IT department or dealer system administrator. If you can’t correct this yourself and the USB is unplugged while diagnosing session active it shows that the vocom is unplugged from the computer while in use. None of these codes indicate that the vocom device is malfunctioning. If you want to run a red light and leave, select Clear List and the code will be DELETE.
remove.
Now, let’s take a look at the Tests tab here. Communication tests can be run to make sure the device is communicating correctly with the vehicle. The last thing we’re going to look at is the Configurator Settings menu.
You can change the language displayed and whether the temperature of the device is displayed in Fahrenheit or Celsius. There is a connection test to make sure the computer is communicating properly with the vocom device in the advanced settings.
In advanced settings you can do it manually.
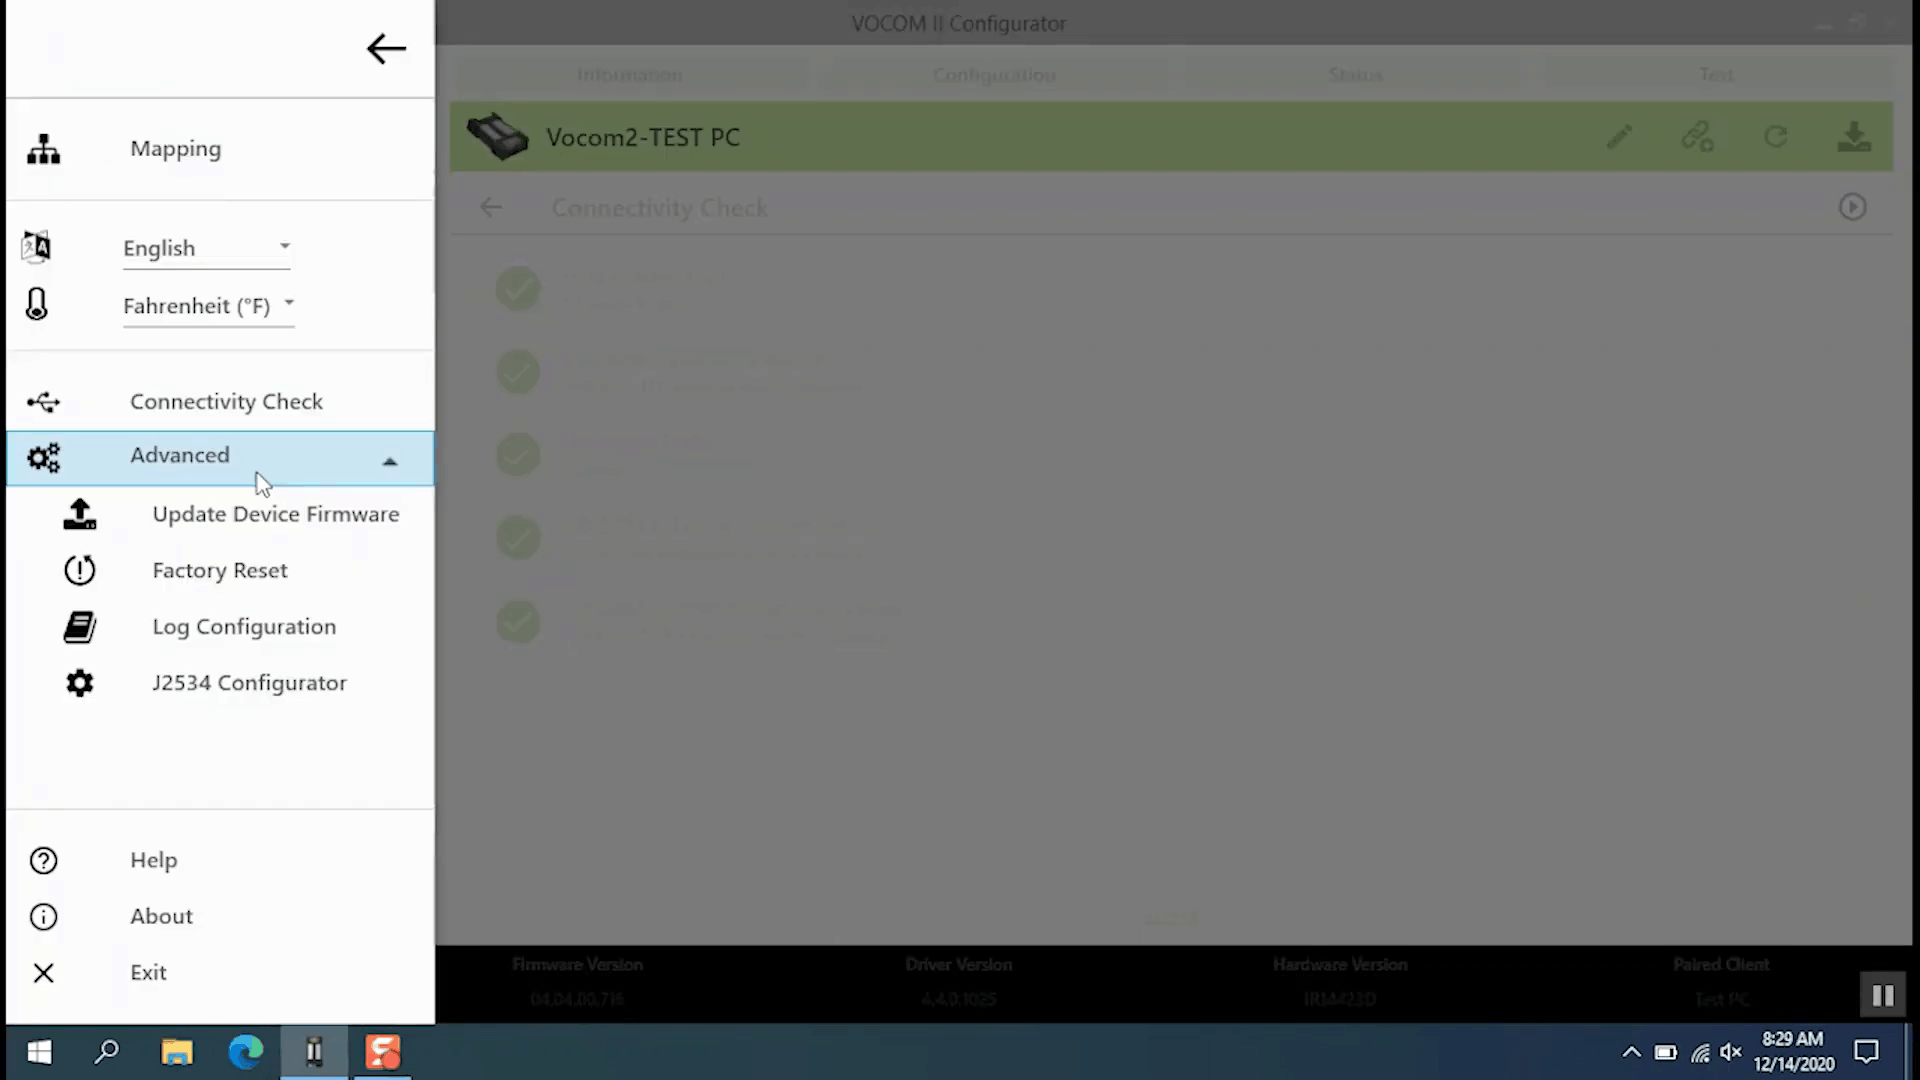
You can manually update the device’s firmware. You can perform a factory reset to erase all devices with saved settings, including paired computers. Note that you can also manually perform a factory reset of a device while the device is connected to power by pressing and holding the reset button for about 5 seconds.
Then the light will flash Disconnect the device from all power to complete the reset? Finally, advance settings can also change the logging level of the device. Note that you should only modify this when instructed by the service desk.
Thanks for watching.
Leave a Reply