
Based on the CReader Pro CRP123, LAUNCH CRP129 is a significant improvement on its predecessor and the world’s first DIY diagnostic product with fully integrated OBDII, car model diagnostics and engine oil lamp reset.
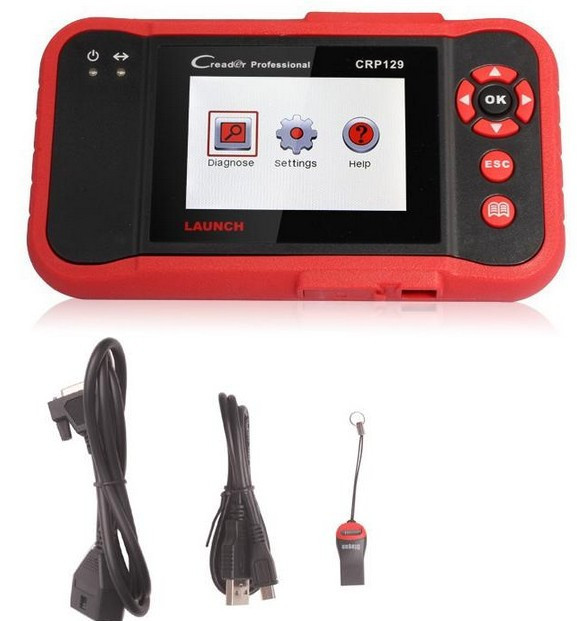
www.autonumen.com offer LAUNCH CRP129 with competitive price.
Today we would like to share with you about how to upgrade LAUNCH CRP129.
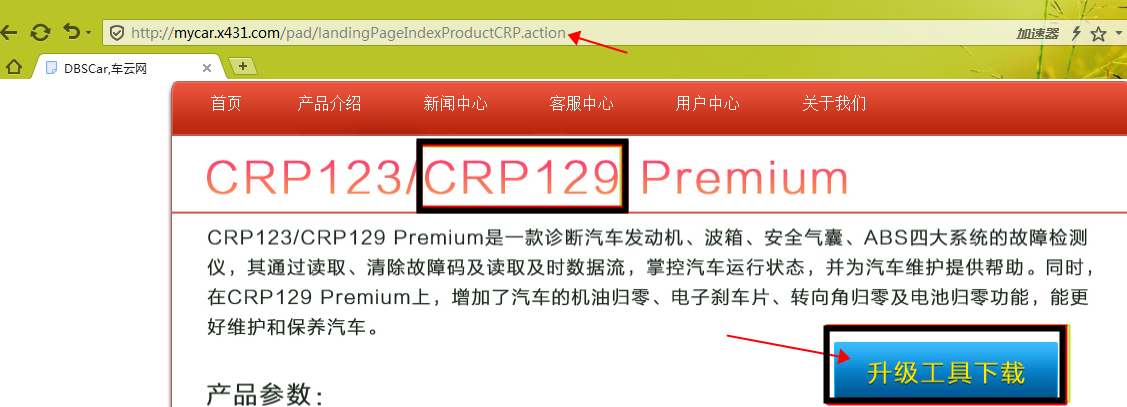
Firstly ,
Enter into this link : http://mycar.x431.com/pad/landingPageIndexProductCRP.action,
Download and install the LaunchDIY_Update_Setup.zip.


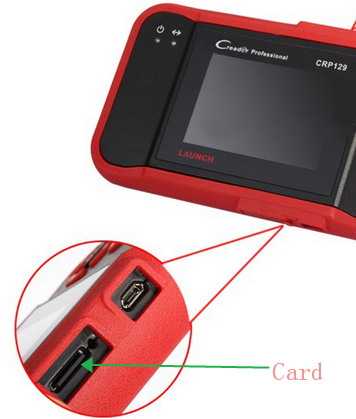
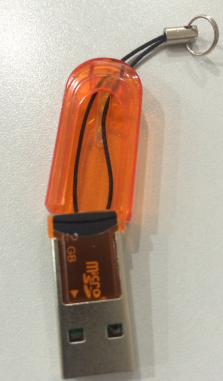
Secondly,
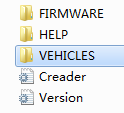
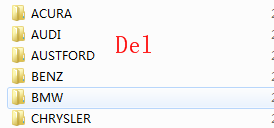
Pull out TF card from LAUNCH CRP129 Code reader Scanner card slot, install TF card into the card reader, connect the card reader with computer USB. Delete all vehicle models in the CR_VII–>VEHICLES File Folder inside the TF card, and then exit.
(Notice: As the TF card capacity is limited, it is better to delete all original vehicle models in the TF card.)
Thirdly,
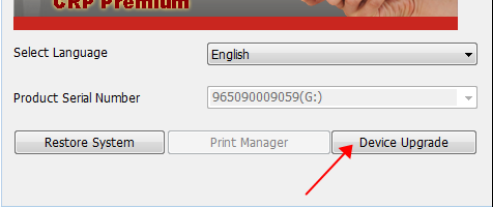
Open LaunchDIY_Update. File, complete the upgrade as following:

Leave a Reply